Choosing and using splitboard skins

Founder of Stone Snowboards

If you’ve already taken up splitboarding, you know that the descent is the icing on the cake… but to get there, you first have to climb. And that’s a different story altogether. Because unless you enjoy taking two steps backwards for every step you take, you’ll need some powerful allies: splitboard skins. You’ll often hear people talk about “seal skins”, by the way. Don’t panic, nobody’s going to go hunting the animal: the term comes from a bygone era when people actually used seal skin to climb. These days, everything is synthetic or made of mohair, so the seals can sleep soundly.
Skins are pretty much the cornerstone of splitboarding. If chosen or fitted poorly, they turn a trip out into a real slog. If well-maintained, they let you climb without too much effort, save your breath, and reach the summit with enough energy left to let loose on the descent. In this article, I’ll share my practical tips with you so that your splitboard skins become your best friends on the mountain.

Understanding the basics of splitboard skins
What exactly are splitboard skins?
Splitboard skins are a bit like the ‘crampons’ for your board. Without them, it’s impossible to make efficient progress on the ascent. The principle is simple:
-
an adhesive side that sticks to the base of your splitboard,
-
a hairy side that grips in one direction and slides in the other.
Basically, it stops you from sliding backwards with every step. Simple, but incredibly effective.
How does it work in practice?
When you push forwards, the fibres stand up and grip the snow. And when you bring the ski back, they lie flat to let it slide. This little mechanical trick transforms a hiker’s struggle into a rider’s smooth ascent.

Types of splitboard skins: choose according to your riding style
Mohair skins
Lightweight and smooth, they offer incredible glide and save time on long ascents. However, their grip can sometimes be lacking on icy slopes, which can make slightly technical sections more difficult.
Synthetic skins
Sturdy and grippy, they perform very well on hard or icy snow. However, they require more effort on long flat sections, as glide isn’t their strong point.
Hybrid skins
A balance that many riders opt for: a good compromise between grip and glide, ideal for tackling changing conditions. And it is precisely in this niche that Stone Snowboards has developed two models of splitboard skins manufactured in Austria by Kohla, a leading name in the field.

Stone Snowboards splitboard skins
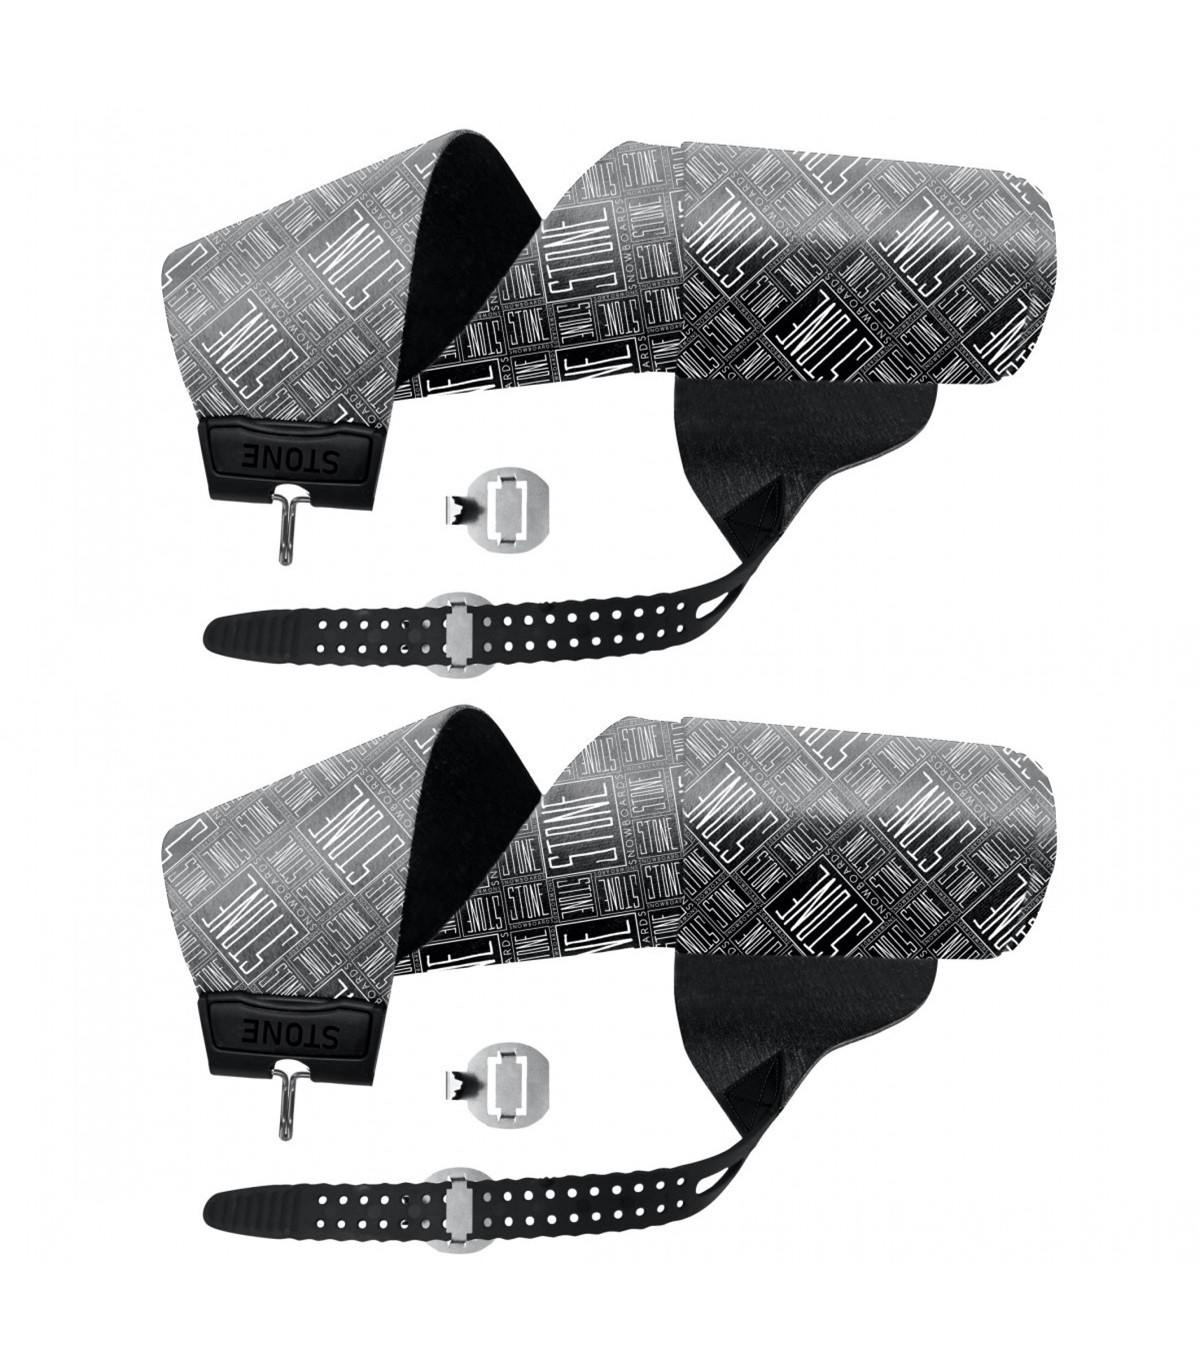
The Stony
The STONY skins are custom-designed to fit the brand’s splitboards perfectly. Their 65% mohair and 35% nylon blend ensures both durability and climbing efficiency, whilst Fiberseal technology makes them thin, robust and completely waterproof. Thanks to Smart Glue, they are easy to attach and remove, even after repeated use.
When it comes to design, Stone has thought of everything: at the nose and tail of the skis, small loops accommodate the skins’ hooks, ensuring an optimal fit both lengthwise and widthwise. Put simply, they’re made to measure: they’re only compatible with Stone splitboards, but they offer unbeatable precision.

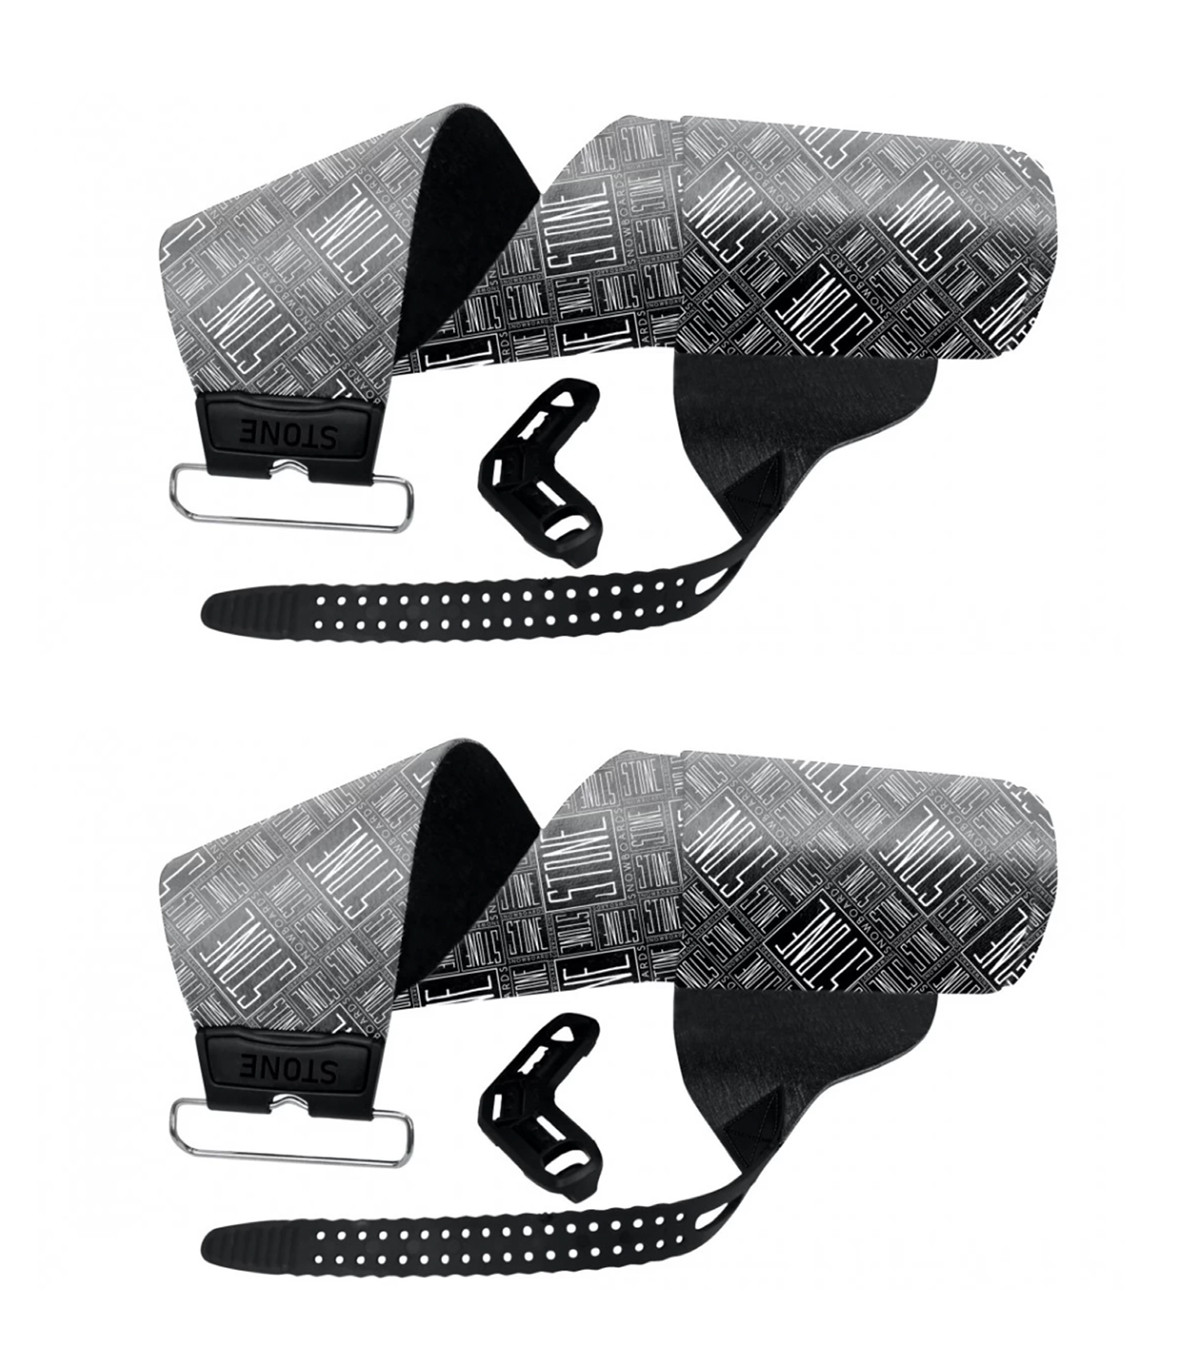
The Worldfit
For riders who don’t have a Stone splitboard, the brand has created the WORLDFIT. Technically, they feature exactly the same construction as the STONY (mohair/nylon blend, Fiberseal, Smart Glue), but with a universal attachment system: a rectangular stainless steel Standard Tip at the front and an adjustable Butterfly at the rear.
They are available in several sizes, making them compatible with most splitboards on the market. Same durability, same ease of use, but with wider compatibility so everyone can enjoy them.
Fitting your splitboard skins: the technique that saves you from swearing
Nothing beats a visual demonstration to understand how to attach your splitboard skins correctly. I’ve already posted a video on my YouTube channel that details all the steps step by step. You can find it here:
Key steps to remember
-
Prepare the base: always start by wiping off snow and moisture, otherwise the adhesive won’t stick properly.
-
Align it from the start: position the skin straight, from nose to tail, without letting it start at an angle.
-
Leave a little gap at the edges: about 5 mm on each side, to maintain grip when traversing.
-
Check the clips: a poorly secured clip is a guaranteed nightmare from the very first few metres.
Basically, if you follow these few points, you’ll save time, avoid frustration and, above all… you’ll be able to enjoy your outing instead of struggling with poorly fitted gear.

Looking after your splitboard skins to make them last longer
Once you’re back home, leave them to dry naturally at room temperature. There’s no need to stick them on a radiator or place them near the stove – they really don’t like that at all.
To keep them in good condition, use the protective nets provided and store them carefully in a bag. Avoid just shoving them into a ball at the bottom of your rucksack: that’s the best way to damage the glue.

In conclusion
Choosing, fitting and maintaining your splitboard skins is a bit like adjusting your bindings or waxing your board: it seems like a minor detail, but it makes all the difference. With good skins that are properly fitted and well looked after, you’ll enjoy the climb without turning the outing into a forced cardio session.
And the real thrill remains the same: stowing the skins, re-strapping the board, and carving down the slope with a smile. Because at the end of the day, that’s what we’re here for, isn’t it?
See you soon, Stoners!